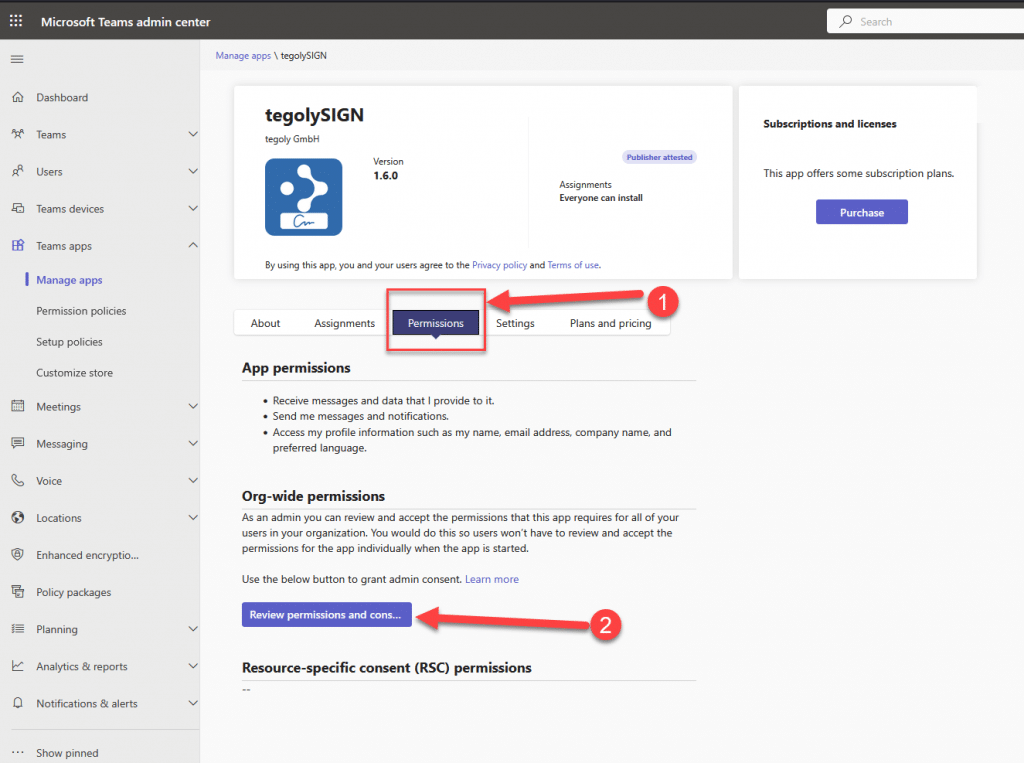
Set authorization for the tegolySIGN app #
- 1. Go to Permissions
- 2. Click on “Review permission and cons…”
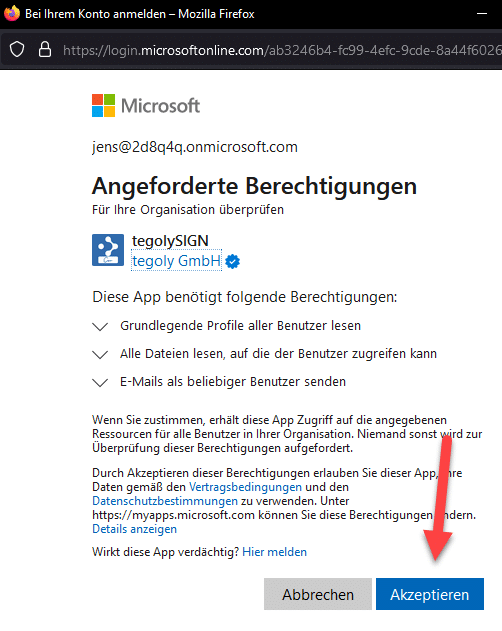
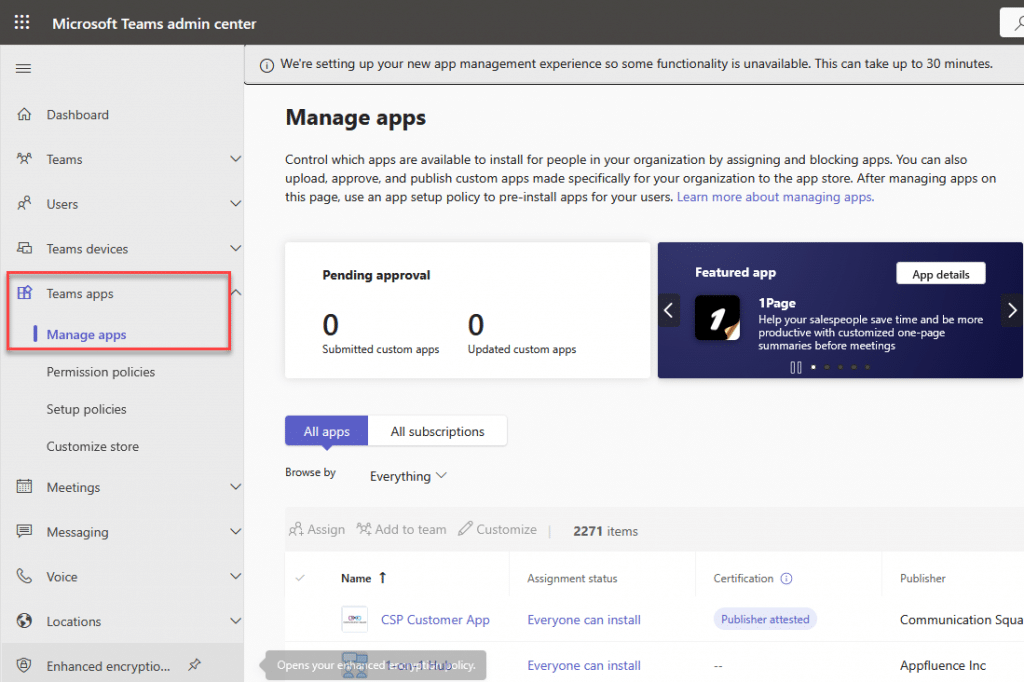
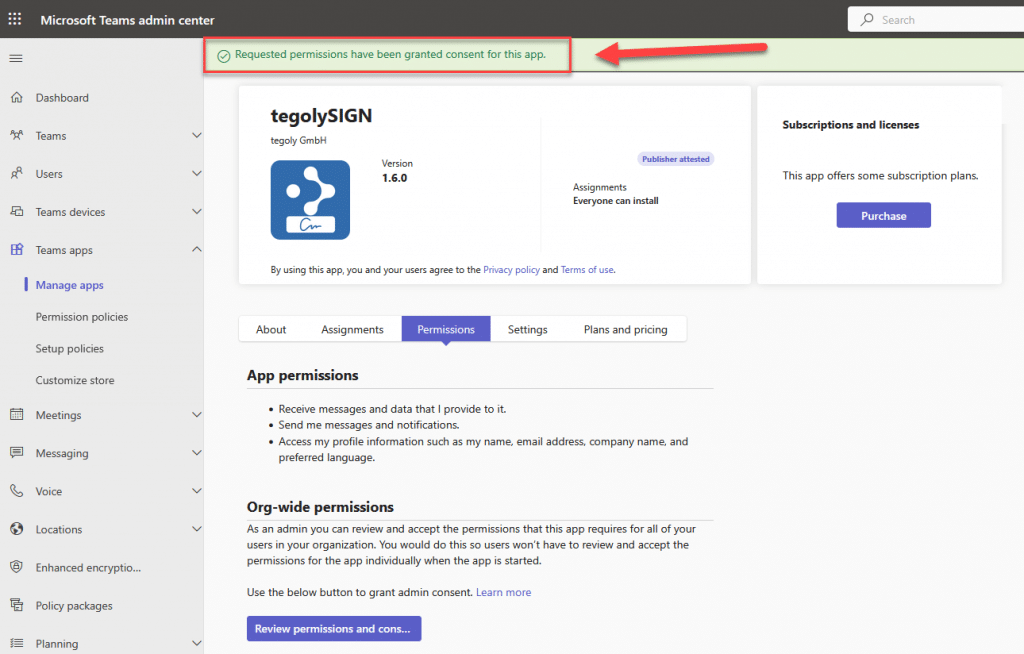
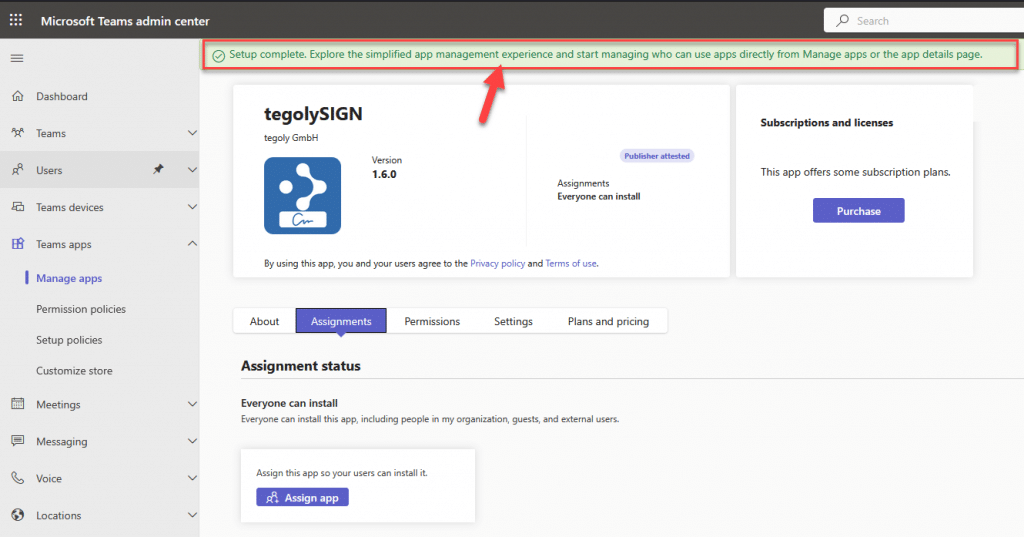
Teams Admin Center #
If you have accepted the permission, you will see in the window that the consent for the app has been granted. A short time later, “Setup complete!” will appear here.
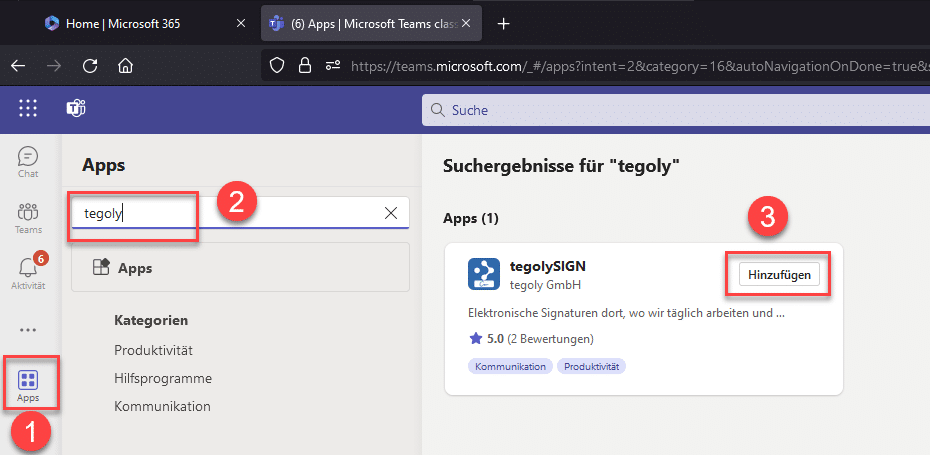
App installation as a user #
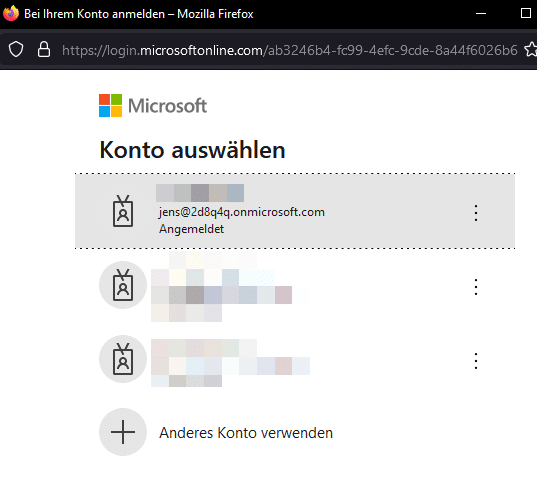
Log in to Teams as the user you want to manage tegolySIGN (this doesn’t have to be the M365 admin; it can be any user of the company).
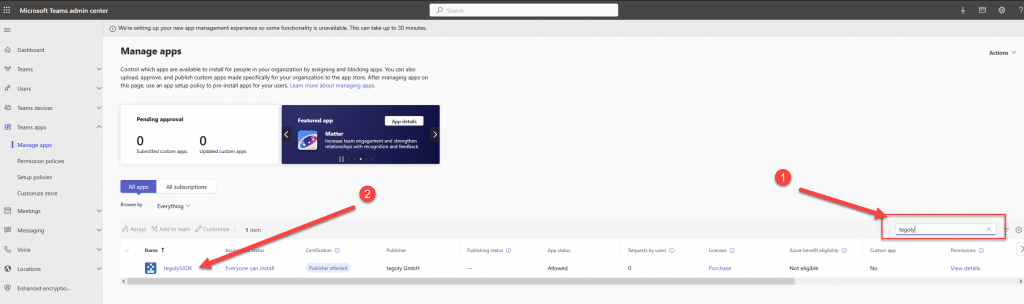
- 1. Then go to the Teams App Store
- 2. Type tegoly in the search
- 3. Add the tegolySIGN app
- 4. In the window that opens, click on “Add”

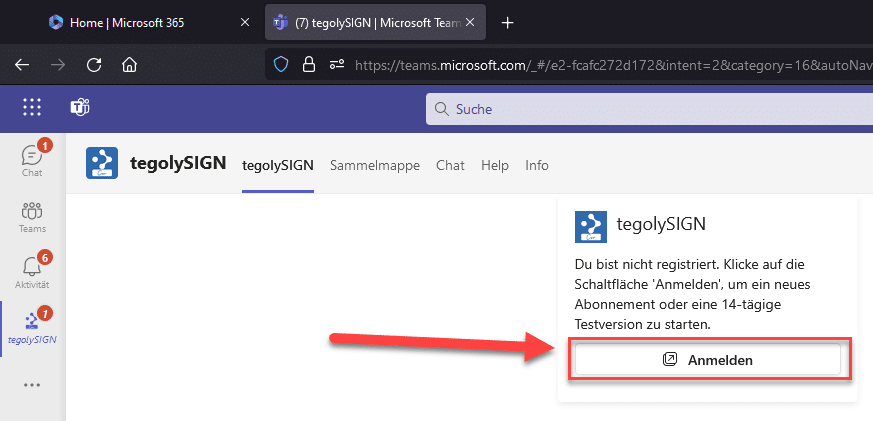
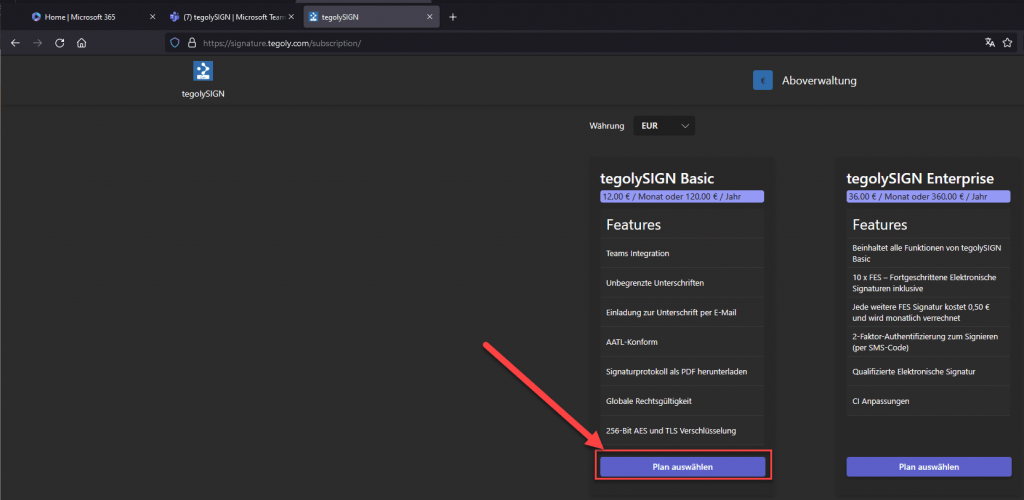
Choose tegolySIGN plan #
Since you are the tegolySIGN administrator, you now need to start the trail version. To do this, you need to select the tegolySIGN Basic plan.
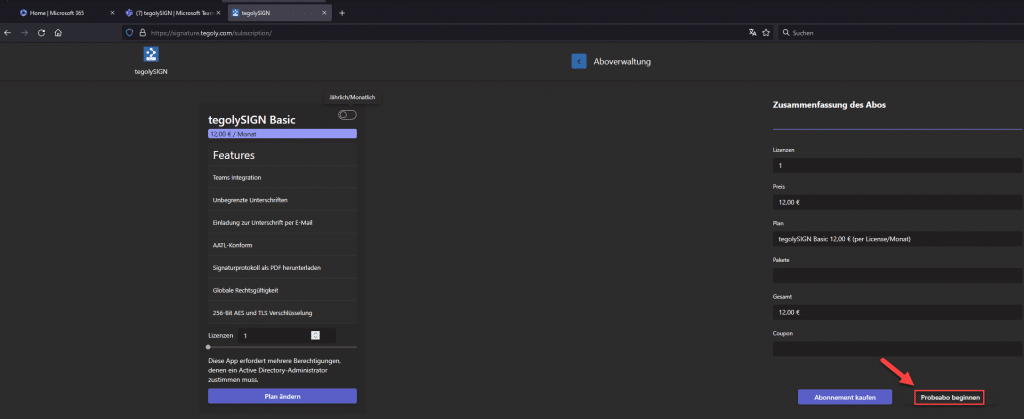
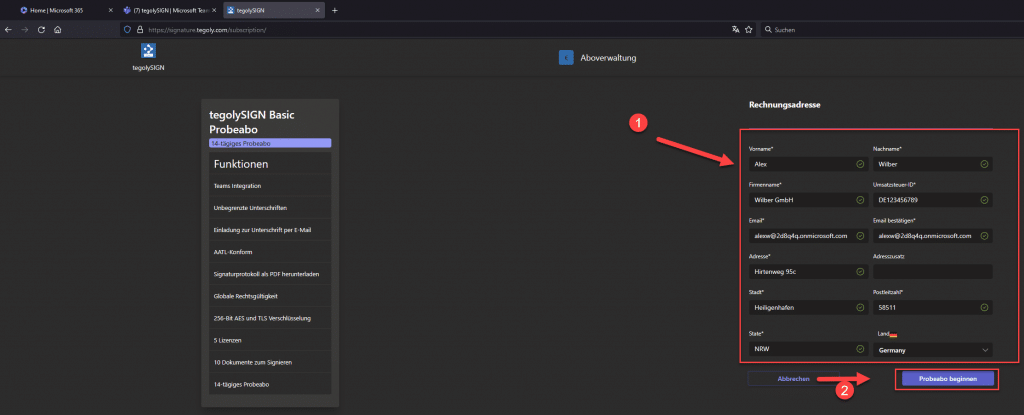
Start Trial #
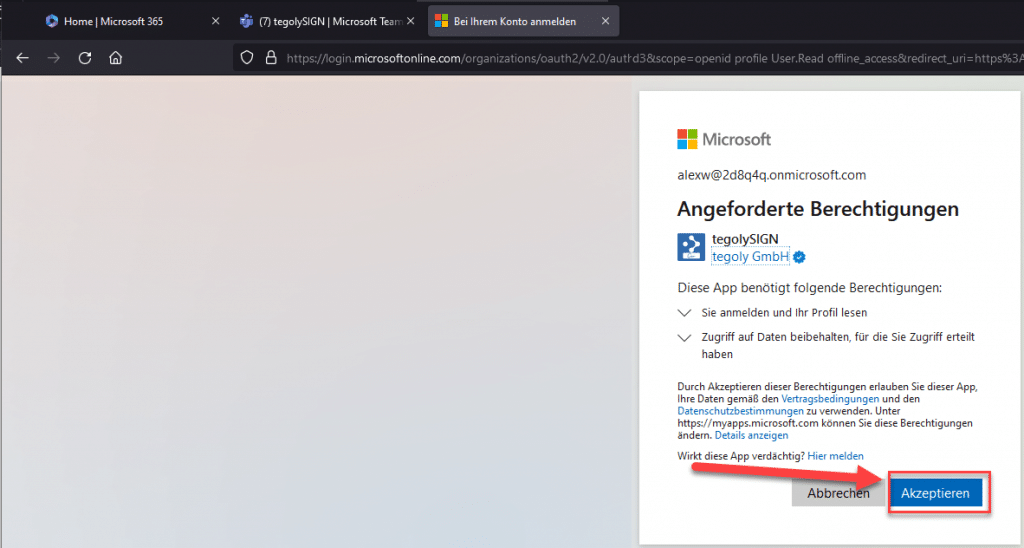
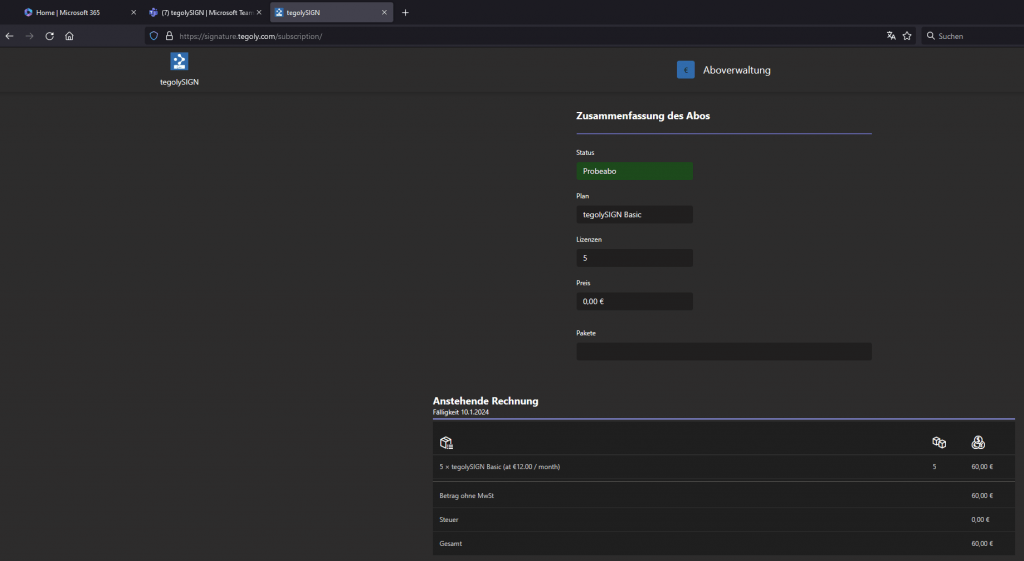
Click on “Start Trial” and enter your data in the next screen. The trail phase is absolutely free and can be cancelled at any time. In the last window for the trail, we show you a summary. You can now close the window.
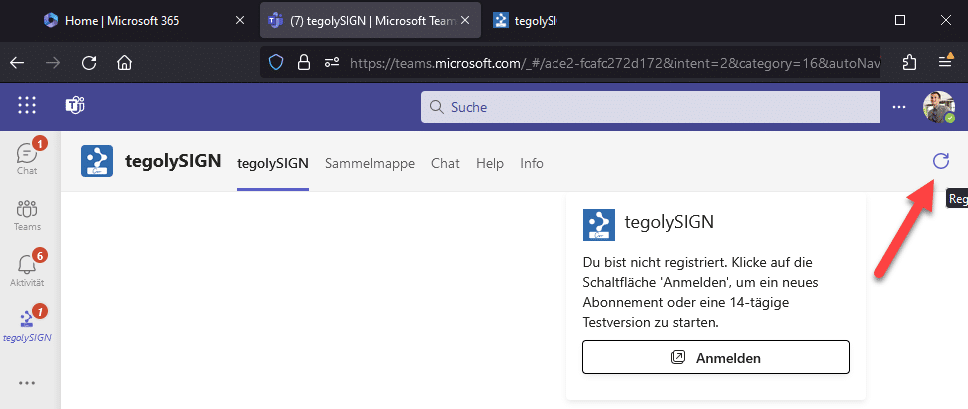
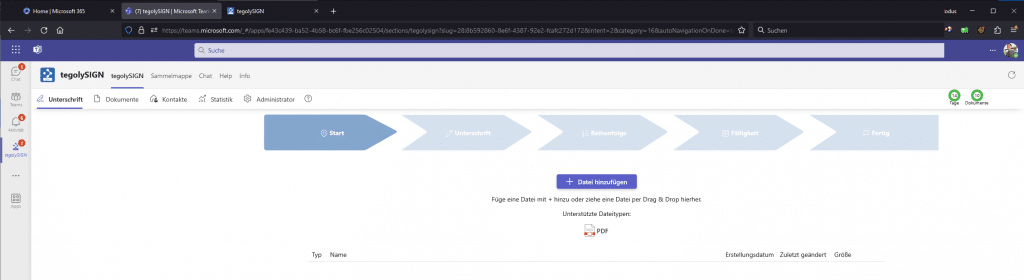
Ready! #
Go back to the Teams application, open tegolySIGN if necessary and press the “Update” button. Now tegolySIGN is ready to use!