Contacts #
This explains how to use the Contacts menu. If you click on the Contacts tab, you will see a list of your own contacts.

In the beginning, of course, your list is empty. If you want to create a contact, click on ‘Create contact’.

An empty input mask opens. All mandatory fields are marked accordingly. For example, if you want to get the signatures from the FES, you should also enter the mobile phone number of your contact here.
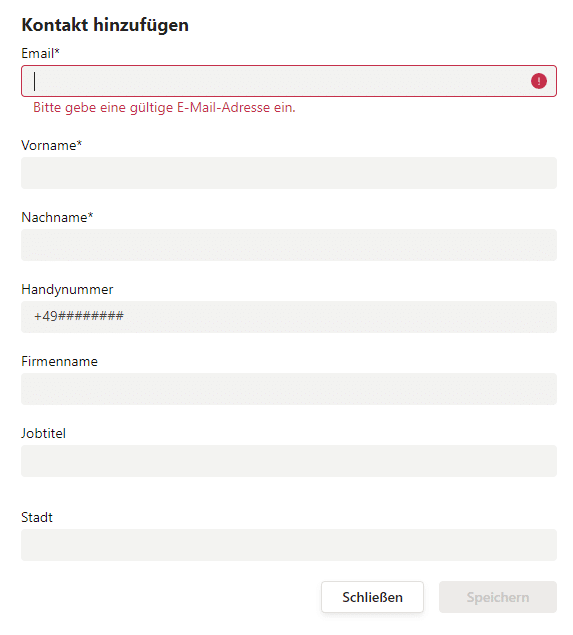
Once you have entered all the necessary data, you will then need to click on ‘Save’.
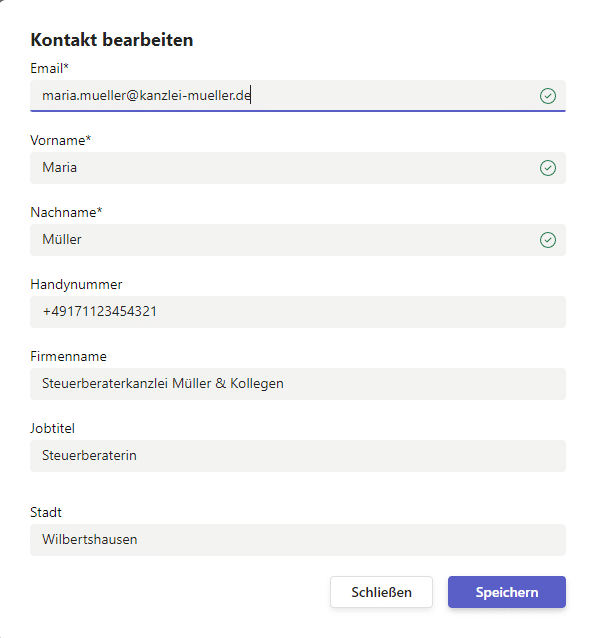
For example, a completed contact form will look like this:
If you click on ‘Close’, you will be taken back to your contacts list.

Here you can also change or delete existing contacts by clicking on one of the two buttons.
Sort contacts #
You can sort contacts by clicking on the name of the division. For example, if you want the list to be sorted by first name, click on First Name and the list will be sorted in ascending order. With a second click on First Name, the list is sorted in descending order.

Share contacts company-wide #
Contacts can be shared company-wide. This shared address book is shared with the members of a group . You can read how to create a group here.