In this section, we will show you how to set up the tegolyDATEV Sync.
This installation guide is intended for technical staff or IT administrators.
The following requirements must be met:
- Administrator rights are required for installation
- The program communicates via the following ports: 9192 UDP, 9193 UDP, 9191 TCP, 9194 TCP. These ports may need to be enabled in the firewall
Install the tegolyDATEV Sync on a file server, terminal server or desktop PC of the law firm.
A server should be chosen that is constantly in operation, as this synchronizes the DATEV documents every 5 minutes and tegolyDATEV also communicates with this program.
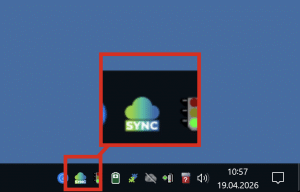
After the program has been installed, the program can be called up via the notification area of the taskbar. To do this, click on the tegolyDATEV Sync icon. The program also enters itself in the Windows autostart.
After installation, the connector opens automatically. Now some settings are necessary.
Settings #

DATEV Link
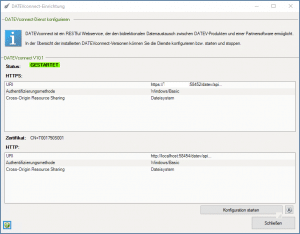
Enter the path to your database server here (example: https://Servername:PORT). This is how you find out the server and port:
In the DATEV workplace, go to 1st organization, then 2nd communication and 3rd DATEVconnect setup. Here you can find the server name and port marked in the picture. (to the instructions from DATEV)
API KEY
The API key can be read from tegolySIGN under “Administrator – DATEV”. Copy and paste it here.
If the key doesn’t already exist, click Generate API Key.
Save Document as Revision
We recommend switching on this switch for DATEV DMS and DokOrg with revision. This means that documents that are fully signed are stored in the DMS as revisions. Otherwise, documents are always stored with the client as a new version.
For DokOrg, the switch must be off.
Storing a certificate in a document structure
The Certificate of Completion (CoC) can be stored in the document structure of DATEV-DMS via this switch. Otherwise, the CoC will be stored as a new document with the client.
Change Editor
This switch can be used to change the processor in DATEV. The current processor who edits the document in tegolySIGN is then entered in DATEV.
All the basic settings are now done. Please start a test and see if everything works properly.
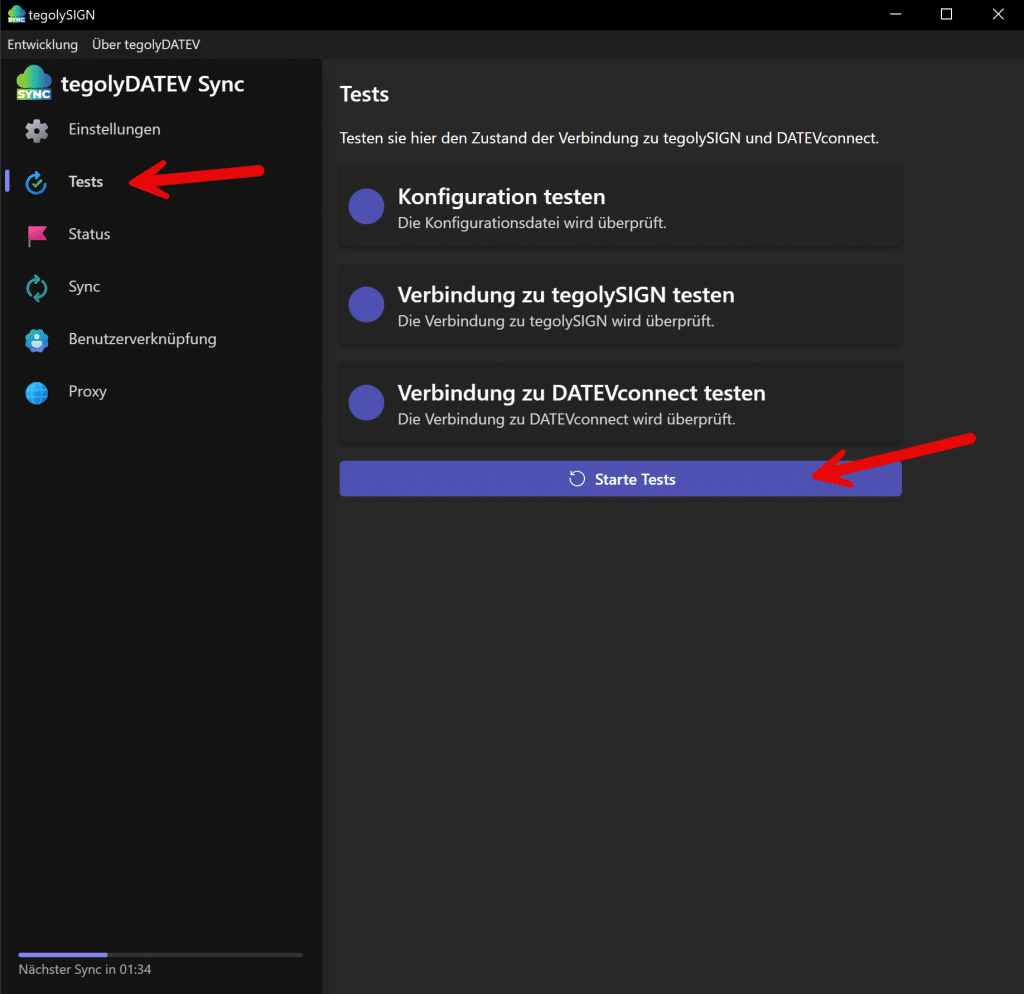
Tests #
Start the tests.
Status #
The status entered here is assigned to the documents in DATEV DMS. You can filter or search for this status, for example.
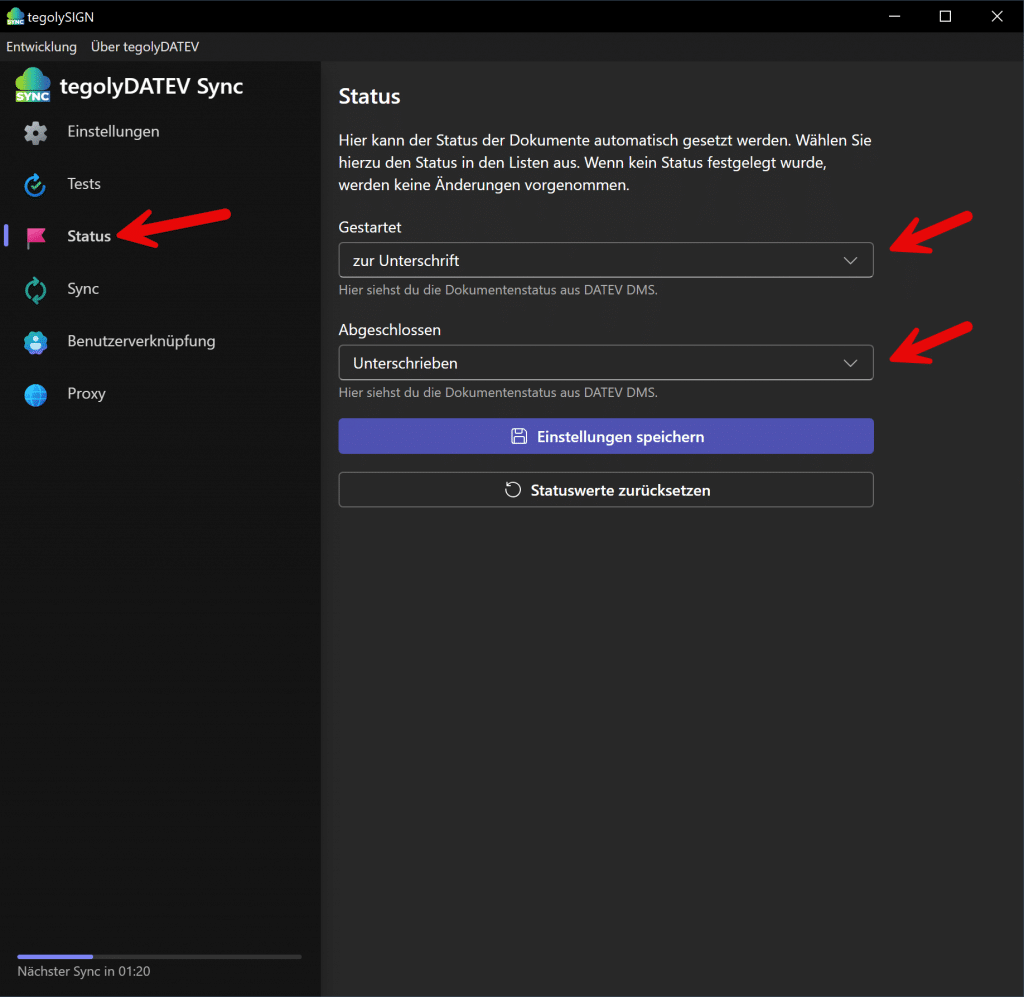
To do this, a status must first be created in DATEV DMS and then it can be selected in the connector. You can find more information on how to create the status here:
Creating Document Status
In our connector, go to “Status” and select the two status values that were previously created for the documents. Save setting. Ready!
You can delete the assignment via the “Reset Status Value” button.
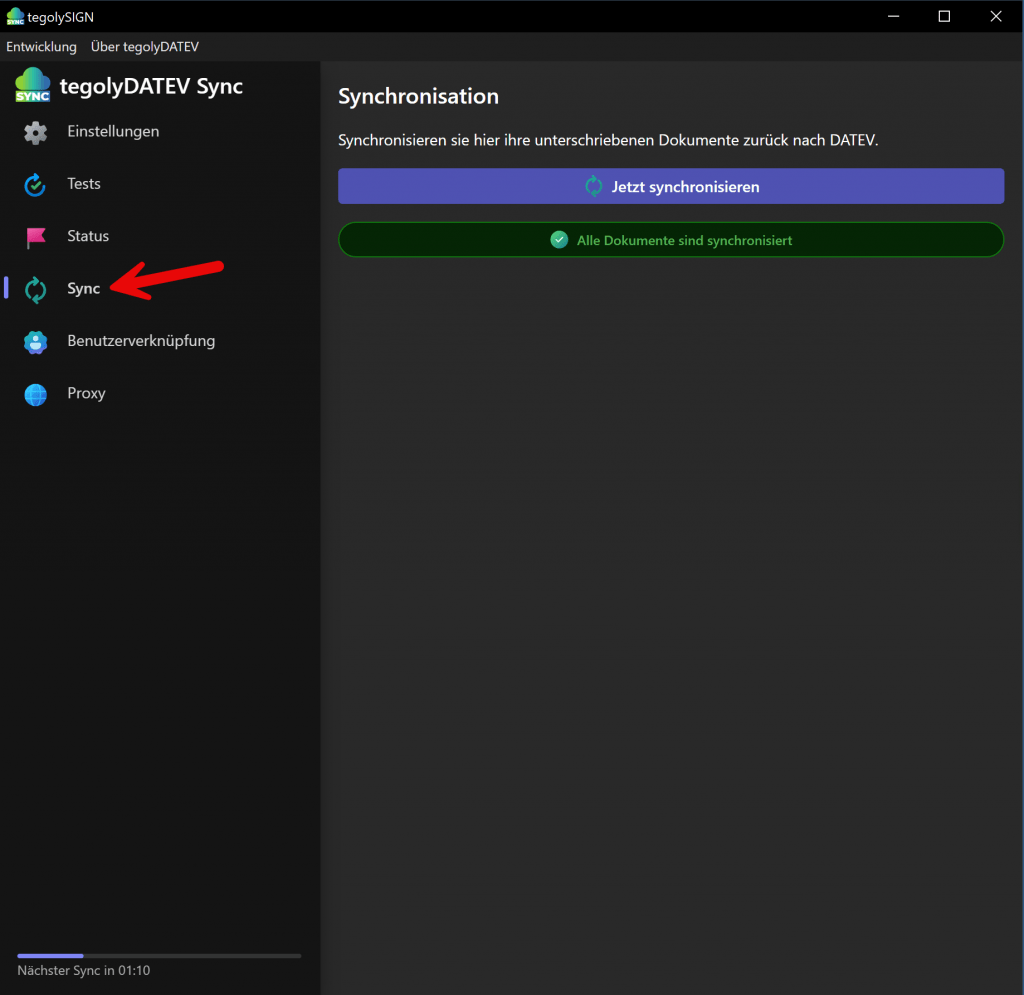
Sync #
In this menu, synchronization can be started manually. This is only necessary for testing purposes, otherwise the synchronization runs automatically in the background. If documents are currently available for synchronization, they are displayed here.
All settings are hereby made. Now you can test whether everything works correctly.
Congratulations! The installation was successful.
If you have a problem, contact us via contact@tegoly.com
User shortcut (optional) #
Here, DATEV users can be connected to tegolySIGN users. This means that the documents are assigned to the corresponding users in tegolySIGN and only they can then edit them.
Sign in with your Microsoft or tegolySIGN account.
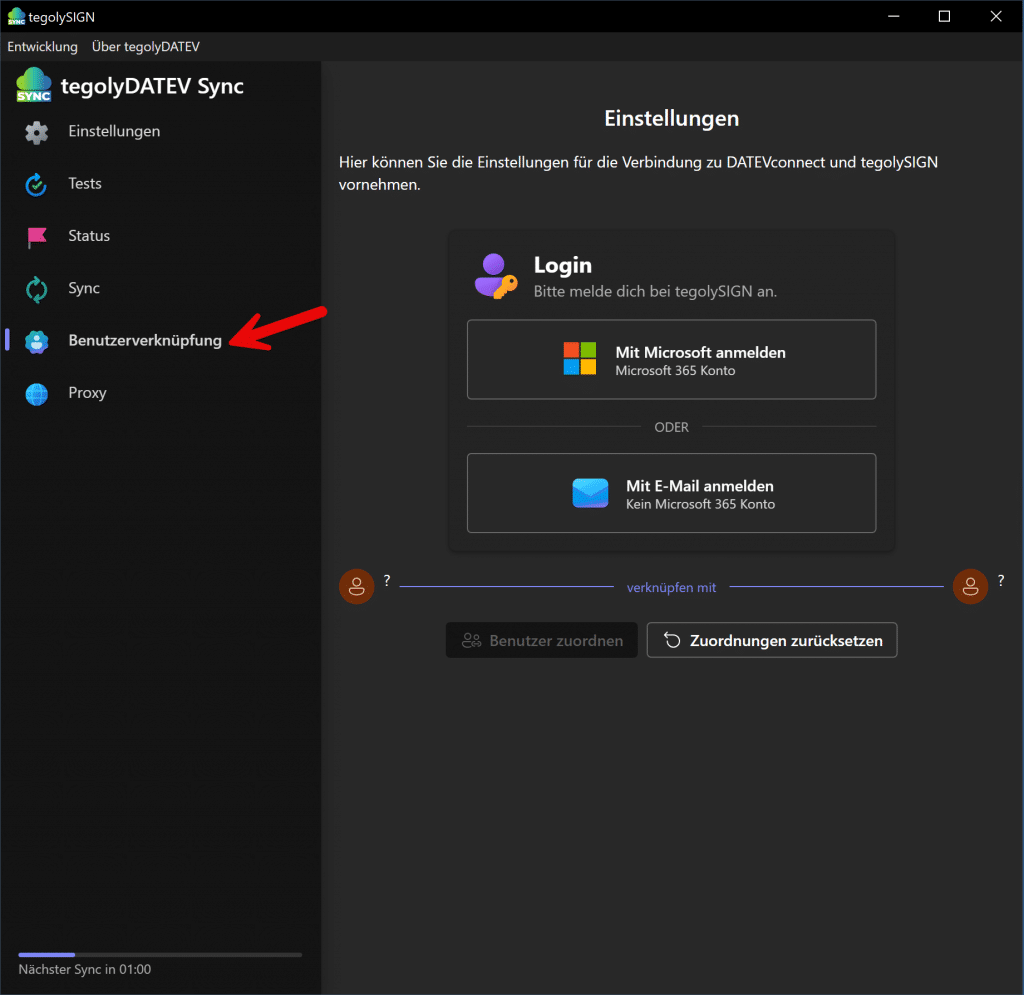
Sign in with your Microsoft account and follow the instructions. This must be a user from the tenant where tegolySIGN is also installed
Once you’ve signed up, you’ll be able to search for the users you want to link.
Here picture
Select the ones you want to link on the DATEV and tegolySIGN page and click on the button.
Via Assign User, the two users are linked.
Here picture
The assignment is automatically saved. The Reset Assignment button deletes all links.
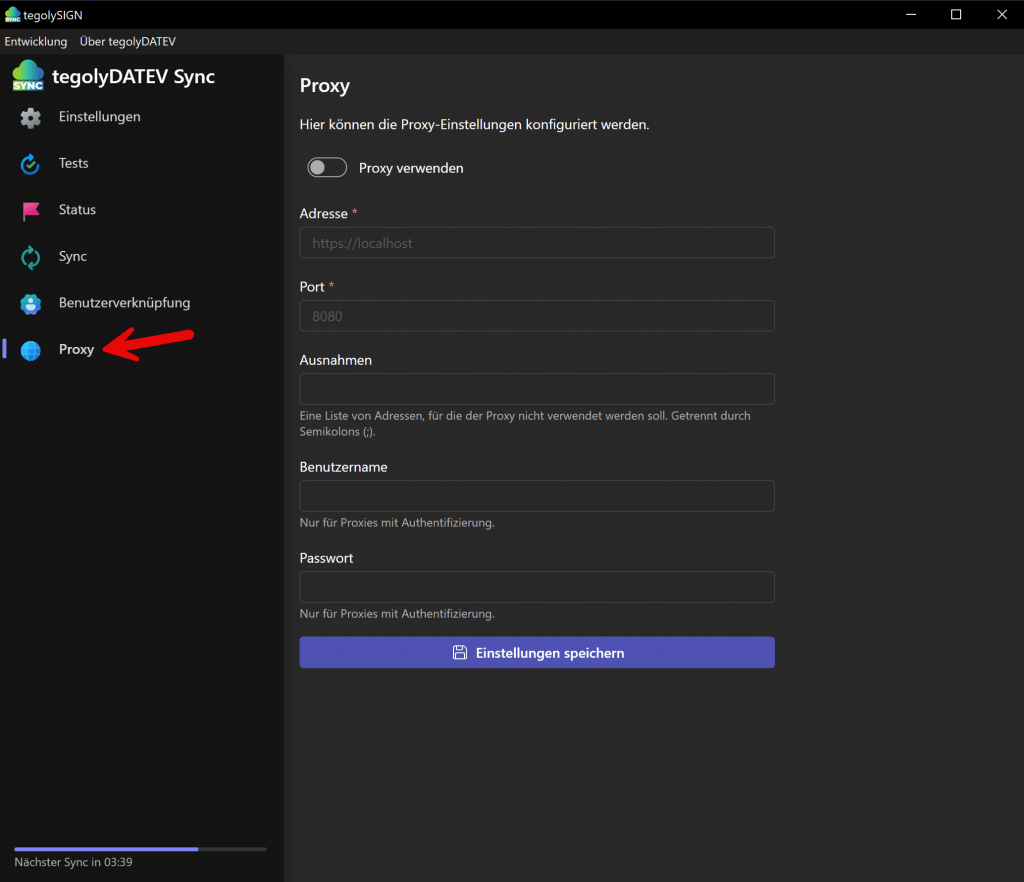
Proxy (optional) #
Here you can set up a proxy server. Please enter at least the address and port . All other entries are optional. Go to Save Settings.